On this page
Neuron 8.2.3 部署记录
安装所需依赖项
为了从源代码构建 Neuron-8.2.3,需要提供以下程序包:
- Bison
- Flex >= 2.6
- C/C++ compiler suite supporting C++17 (e.g. GCC >=9.3.1, Clang >= 11.0.0)
- 注意,C++17的某些功能需要较新的编译器版本。
- C++17功能必须在不链接额外库的情况下可用。这特别排除了一些旧版本的GCC,其中std::FileSystem需要libstdc++fs.so。
- CMake >= 3.15 (>= 3.18 if -DNRN_ENABLE_PYTHON_DYNAMIC=ON)
- Python >=3.8 (for Python interface)
- Cython < 3 (for RXD)
- MPI (for parallel)
- X11 (for GUI)
我选择的环境是:
- gcc 11.2.0
- CMake 3.27.7-gcc-11.2.0
- Cython 0.29.36
- MPI mvapich2 2.3.7-gcc-11.2.0
- Python 3.10.12
- ncurses 6.4-gcc-11.2.0 fLIP
- readline 8.2-gcc-11.2.0 fLIP
加载代理网络环境
加载代理网络环境的脚本如下,如果你没有的话建议创建一个
  export http_proxy=http://10.20.18.21:3128
export HTTP_PROXY=http://10.20.18.21:3128
export https_proxy=http://10.20.18.21:3128
export HTTPS_PROXY=http://10.20.18.21:3128
git config --global http.proxy http://10.20.18.21:3128
git config --global https.proxy http://10.20.18.21:3128

export no_proxy="localhost,127.0.0.1"
首先,在登录节点执行以下命令以设置网络代理
source proxy.sh
安装 GCC-11.2.0
- 下载 GCC-11.2.0 源代码
wget http://mirror.linux-ia64.org/gnu/gcc/releases/gcc-11.2.0/gcc-11.2.0.tar.gz
- 解压源代码压缩文件包
srun -N 1 -p gpu_v100_test tar -xzvf gcc-11.2.0.tar.gz
- 下载 GCC 依赖项
  cd gcc-11.2.0
./contrib/download_prerequisites
- 编译安装 GCC
  srun -N 1 -p gpu_v100_test ./configure --prefix=/path/to/install \
--enable-bootstrap \
--enable-languages=c,c++ \
--enable-threads=posix \
--enable-checking=release \
--disable-multilib \
--with-system-zlib \
&& make -j$(nproc) \
&& make install
- 新建一个
modulefile文件,路径自己定,推荐在自己的目录下新建一个modulefiles目录,然后新建一个gcc/11.2.0 文件,文件内容如下:(root更换成GCC-11.2.0的安装路径)
  #%Module######################################################################
##                                                                          ##
##                        TianHe-2 software modulefile                      ##
##                                                                          ##
##############################################################################

proc ModulesHelp { } {
        puts stderr "This is a gcc compiler"
        puts stderr "use the `-Wl,-rpath -Wl,LIBDIR' linker flag"
}

conflict gcc

set root /GPUFS/nsccgz_zgchen_2/pangshzh/software/gcc-11.2.0/usr/local

prepend-path INCLUDE  $root/include
prepend-path CPATH    $root/include
prepend-path LD_LIBRARY_PATH $root/libexec
prepend-path LD_LIBRARY_PATH $root/lib
prepend-path LD_LIBRARY_PATH $root/lib64
prepend-path LIBRARY_PATH $root/libexec
prepend-path LIBRARY_PATH $root/lib
prepend-path LIBRARY_PATH $root/lib64
prepend-path PATH $root/bin

setenv CC $root/bin/gcc
setenv CXX $root/bin/g++

# Installed by whoami, xxxx/xx/xx
##############################################################################
- 之后就可以使用 module load /path/to/modulefile来加载GCC-11.2.0了,也可以加入以下环境变量,将整个modulefiles目录加入到MODULEPATH中,就可以通过
module avail找到自己所有的module包:
export MODULEPATH=/path/to/modulefiles:$MODULEPATH
安装 CMake-3.27.7
- 下载 CMake Build Distribution
wget https://ghproxy.com/github.com/Kitware/CMake/releases/download/v3.27.7/cmake-3.27.7-linux-x86_64.tar.gz
- 解压压缩文件包
  srun -N 1 -p gpu_v100_test tar -xzvf cmake-3.27.7-linux-x86_64.tar.gz
mv cmake-3.27.7 /path/to/install
- 新建一个
modulefiles文件在目录 modulefiles/cmake 下,名为3.27.7,如下所示:
  #%Module######################################################################
##                                                                          ##
##                        TianHe-2 software modulefile                      ##
##                                                                          ##
##############################################################################

proc ModulesHelp { } {
    puts stderr "A cross-platform, open-source build system. CMake is a family of tools"
    puts stderr "designed to build, test and package software."
}

conflict cmake
module-whatis "CMake 3.27.7"

set root "/GPUFS/nsccgz_zgchen_2/pangshzh/software/cmake/3.27.7"
prepend-path PATH ${root}/bin
prepend-path ACLOCAL_PATH ${root}/share/aclocal
prepend-path CMAKE_PREFIX_PATH ${root}

##############################################################################
- 测试 cmake 安装是否成功
  module load cmake/3.27.7
cmake --version
// 显示
// cmake version 3.27.7
安装 Mvapich2-2.3.7
- 下载 Mvapich2 源代码:
wget https://mvapich.cse.ohio-state.edu/download/mvapich/mv2/mvapich2-2.3.7-1.tar.gz
- 解压源代码压缩文件包
srun -N 1 -p gpu_v100_test tar -xzvf mvapich2-2.3.7-1.tar.gz
- 使用 GCC-11.2.0 编译安装 Mvapich2
  cd mvapich2-2.3.7
module load gcc/11.2.0
srun -N 1 -p gpu_v100_test ./configure --prefix=/path/to/install \
--with-pm=slurm --with-pmi=pmi2 \
&& make -j4 \
&& make install
- 新建一个
modulefiles文件在目录 modulefiles/mvapich2 下,名为2.3.7-gcc-11.2.0,如下所示:
  #%Module######################################################################
##                                                                          ##
##                        TianHe-2 software modulefile                      ##
##                                                                          ##
##############################################################################

proc ModulesHelp { } {
        puts stderr "Mvapich2 2.3.7"
}


module load gcc/11.2.0
set root /GPUFS/nsccgz_zgchen_2/pangshzh/software/mvapich2/2.3.7-gcc-11.2.0

prepend-path INCLUDE  $root/include
prepend-path CPATH    $root/include
prepend-path LD_LIBRARY_PATH $root/libexec
prepend-path LD_LIBRARY_PATH $root/lib
prepend-path LIBRARY_PATH $root/libexec
prepend-path LIBRARY_PATH $root/lib

prepend-path PATH $root/bin

setenv     MV2_USE_THREAD_WARNING 0

##############################################################################
- 测试 Mvapich2 是否安装成功
- 新建 test_mpi.c 文件
  #include <mpi.h>
#include <stdio.h>

int main(int argc, char** argv){

    MPI_Init(NULL, NULL);
    int world_size;
    MPI_Comm_size(MPI_COMM_WORLD, &world_size);
    int world_rank;
    MPI_Comm_rank(MPI_COMM_WORLD, &world_rank);
    char processor_name[MPI_MAX_PROCESSOR_NAME];
    int name_len;
    MPI_Get_processor_name(processor_name, &name_len);
    printf("Hello world from processor %s, rank %d out of %d processors\n",processor_name, world_rank, world_size);
    MPI_Finalize();
}
- 编译 test_mpi.c 文件
mpicc -o test_mpi test_mpi.c
- 新建 mvapich.sh 测试脚本
  #!/bin/bash
module load mvapich2/2.3.7-gcc-11.2.0
module load gcc/11.2.0
mpiexec -N 2 -n 4 -p gpu_v100_test ./test_mpi
- 执行测试脚本
  ./mvapich.sh
# 正确运行结果为:
# Hello world from processor gpu21, rank 0 out of 4 processors
# Hello world from processor gpu21, rank 1 out of 4 processors
# Hello world from processor gpu22, rank 2 out of 4 processors
# Hello world from processor gpu22, rank 3 out of 4 processors
安装 ncurses-6.4
- 下载 ncurses-6.4 源代码
wget https://invisible-mirror.net/archives/ncurses/ncurses-6.4.tar.gz
- 解压源代码压缩文件包
srun -N 1 -p gpu_v100_test tar -xzvf ncurses-6.4.tar.gz
- 使用 GCC-11.2.0 编译 ncurses
  cd ncurses-6.4
module load gcc/11.2.0
srun -N 1 -p gpu_v100_test CFLAGS="-fPIC" ./configure --prefix=/path/to/install --with-shared \
&& make -j$(nproc) \
&& make install
- 新建一个
modulefiles文件在目录 modulefiles/ncurses 下,名为6.4-gcc-11.2.0,如下所示:
  #%Module######################################################################
##                                                                          ##
##                        TianHe-2 software modulefile                      ##
##                                                                          ##
##############################################################################

proc ModulesHelp { } {
        puts stderr "This is a ncurses library"
}


set root /GPUFS/nsccgz_zgchen_2/pangshzh/software/ncurses/6.4-gcc-11.2.0

prepend-path PATH $root/bin
prepend-path INCLUDE  $root/include
prepend-path LD_LIBRARY_PATH $root/lib


##Installed by pangshzh, 2023/10/14
##############################################################################
安装 readline-8.2
- 下载 readline-8.2 源代码
wget https://git.savannah.gnu.org/cgit/readline.git/snapshot/readline-8.2.tar.gz --no-check-certificate
- 解压源代码压缩文件包
srun -N 1 -p gpu_v100_test tar -xzvf readline-8.2.tar.gz
- 使用 GCC-11.2.0 编译 readline
  cd readline-8.2
srun -N 1 -p gpu_v100_test CFLAGS="-fPIC" ./configure --prefix=/path/to/install \
--with-curses

&& make -j$(nproc) \
&& make install
- 新建一个
modulefiles文件在目录 modulefiles/readline 下,名为8.2-gcc-11.2.0,如下所示:
  #%Module#######################################################################
##                                                                           ##
##                       TianHe-2 software modulefile                        ##
##                                                                           ##
###############################################################################

proc ModulesHelp { } {
    puts stderr "This is a readline library"
}

module-whatis "For more information, \$ module help readline/8.2-gcc-11.2.0"

conflict readline
module load ncurses/6.4-gcc-11.2.0

set path /GPUFS/nsccgz_zgchen_2/pangshzh/software/readline/8.2-gcc-11.2.0

prepend-path LD_LIBRARY_PATH ${path}/lib
prepend-path LIBRARY_PATH ${path}/lib
prepend-path CPATH ${path}/include
prepend-path C_INCLUDE_PATH ${path}/include
prepend-path INCLUDE ${path}/include

###############################################################################
克隆 Neuron 仓库
  git clone https://github.com/neuronsimulator/nrn -b 8.2.3
cd nrn
git submodule init
# 网络不好需要多试几次
git submodule update
创建一个专用于Neuron的conda虚拟环境
- 首先配置好
CONDA_PATH
  export CONDA_PATH=/GPUFS/nsccgz_zgchen_2/pangshzh/software/miniconda3
export PATH=$CONDA_PATH/bin:$PATH

// 切换到你的conda环境
source activate
- 创建虚拟环境,使用 python 3.10
  conda create -n nrn python=3.10
conda activate nrn
- 安装 Cython < 3 (for RXD),scipy与numpy
pip3 install cython==0.29.36 numpy scipy
申请一个计算节点方便进行后续编译
- 申请计算节点
salloc -N 1 -p gpu_v100
- 通过
yhq查看你的节点位置,然后通过ssh命令登录到申请的节点上,例如
ssh gpu39
- 加载所需环境
  export CONDA_PATH=/GPUFS/nsccgz_zgchen_2/pangshzh/software/miniconda3
export PATH=$CONDA_PATH/bin:$PATH
export MODULEPATH=/GPUFS/nsccgz_zgchen_2/pangshzh/modulefiles:$MODULEPATH

// 切换到你的conda环境
source activate
conda activate nrn

// 检查python路径是否正确,应该显示~/pangshzh/software/miniconda3/envs/nrn/bin/python
which python

// 加载 ncurses、cmake、gcc、mvapich2、readline
module load ncurses/6.4-gcc-11.2.0
module load cmake/3.27.7
module load gcc/11.2.0
module load mvapich2/2.3.7-gcc-11.2.0
module load readline/8.2-gcc-11.2.0
- 编译安装 NEURON
  cd nrn
mkdir build
cd build

// 其中,-DNRN_ENABLE_INTERVIEWS=OFF 表示不包括 GUI,即界面
// -DNRN_ENABLE_CORENEURON=ON 表示启用 CoreNeuron 优化器支持

cmake .. \
-DNRN_ENABLE_INTERVIEWS=OFF \
-DNRN_ENABLE_PYTHON=ON \
-DNRN_ENABLE_MPI=ON \
-DNRN_ENABLE_CORENEURON=ON \
-DPYTHON_EXECUTABLE=$(which python3) \
-DCMAKE_INSTALL_PREFIX=$HOME/software/nrn/8.2.3 \
-DCMAKE_C_COMPILER=$(which mpicc) \
-DCMAKE_CXX_COMPILER=$(which mpicxx) \
-DCMAKE_BUILD_TYPE=RelWithDebInfo \
-DReadline_INCLUDE_DIR=$HOME/software/readline/8.2-gcc-11.2.0/include/readline \
-DReadline_LIBRARY=$HOME/software/readline/8.2-gcc-11.2.0/lib/libreadline.a \
-DCMAKE_PREFIX_PATH=$HOME/software/ncurses/6.4-gcc-11.2.0

# 上一条命令执行后会打印一下信息
# --
# -- Configured NEURON 8.2.3
# --
# -- You can now build NEURON using:
# --   cmake --build . --parallel 8 [--target TARGET]
# -- You might want to adjust the number of parallel build jobs for your system.
# -- Some non-default targets you might want to build:
# -- --------------+--------------------------------------------------------------
# --  Target       |   Description
# -- --------------+--------------------------------------------------------------
# -- install       | Will install NEURON to: /GPUFS/nsccgz_zgchen_2/pangshzh/software/nrn/8.2.3
# --               | Change the install location of NEURON using:
# --               |   cmake <src_path> -DCMAKE_INSTALL_PREFIX=<install_path>
# -- docs          | Build full docs. Calls targets: doxygen, notebooks, sphinx, notebooks-clean
# -- uninstall     | Removes files installed by make install (todo)
# -- --------------+--------------------------------------------------------------
# --  Build option | Status
# -- --------------+--------------------------------------------------------------
# -- C COMPILER    | /GPUFS/nsccgz_zgchen_2/pangshzh/software/mvapich2/2.3.7-gcc-11.2.0/bin/mpicc
# -- CXX COMPILER  | /GPUFS/nsccgz_zgchen_2/pangshzh/software/mvapich2/2.3.7-gcc-11.2.0/bin/mpicxx
# -- BUILD_TYPE    | RelWithDebInfo (allowed: Custom;Debug;Release;RelWithDebInfo;Fast)
# -- COMPILE FLAGS | -g  -O2 -Wno-write-strings
# -- Shared        | ON
# -- Default units | modern units (2019 nist constants)
# -- MPI           | ON
# --   DYNAMIC     | OFF
# --   INC         |
# --   LIB         | MPI_LIBRARY-NOTFOUND
# -- Python        | ON
# --   EXE         | /GPUFS/nsccgz_zgchen_2/pangshzh/software/miniconda3/envs/nrn/bin/python3
# --   INC         | /GPUFS/nsccgz_zgchen_2/pangshzh/software/miniconda3/envs/nrn/include/python3.10
# --   LIB         | /GPUFS/nsccgz_zgchen_2/pangshzh/software/miniconda3/envs/nrn/lib/libpython3.10.so
# --   MODULE      | ON
# --   DYNAMIC     | OFF
# -- Readline      | /GPUFS/nsccgz_zgchen_2/pangshzh/software/readline/8.2-gcc-11.2.0/lib/libreadline.a
# -- RX3D          | ON
# --   OptLevel    | 0
# -- Interviews    | OFF
# -- CoreNEURON    | ON
# --   PATH        | /GPUFS/nsccgz_zgchen_2/pangshzh/src/nrn/external/coreneuron
# --   LINK FLAGS  | -Lx86_64 -lcorenrnmech
# --   Legacy Units| OFF
# -- Tests         | OFF
# -- --------------+--------------------------------------------------------------
# --  See documentation : https://www.neuron.yale.edu/neuron/
# -- --------------+--------------------------------------------------------------
# --
# -- Configuring done (72.3s)
# -- Generating done (2.9s)
# -- Build files have been written to: /GPUFS/nsccgz_zgchen_2/pangshzh/src/nrn/build

# 检查无误了再进行下一步

cmake --build . --parallel $(nproc) --target install
- 新建一个
modulefiles文件在目录 modulefiles/nrn 下,名为8.2.3-gcc-11.2.0,如下所示:\
  #%Module######################################################################
##                                                                          ##
##                        TianHe-2 software modulefile                      ##
##                                                                          ##
##############################################################################

module-whatis "Yale Neuron Simulator v8.2.3"
proc ModulesHelp { } {
  puts stderr "The Yale Neuron Simulator is a software tool for neuron simulation and neuroscience research. "
  puts stderr "This module loads Neuron version 7.6.7 and sets the relevant environment variables and package dependencies."
}

conflict nrn

set prefix ~/pangshzh/software/nrn/8.2.3

prepend-path PATH $prefix/x86_64/bin
prepend-path LD_LIBRARY_PATH $prefix/x86_64/lib
prepend-path PYTHONPATH $prefix/x86_64/lib/python
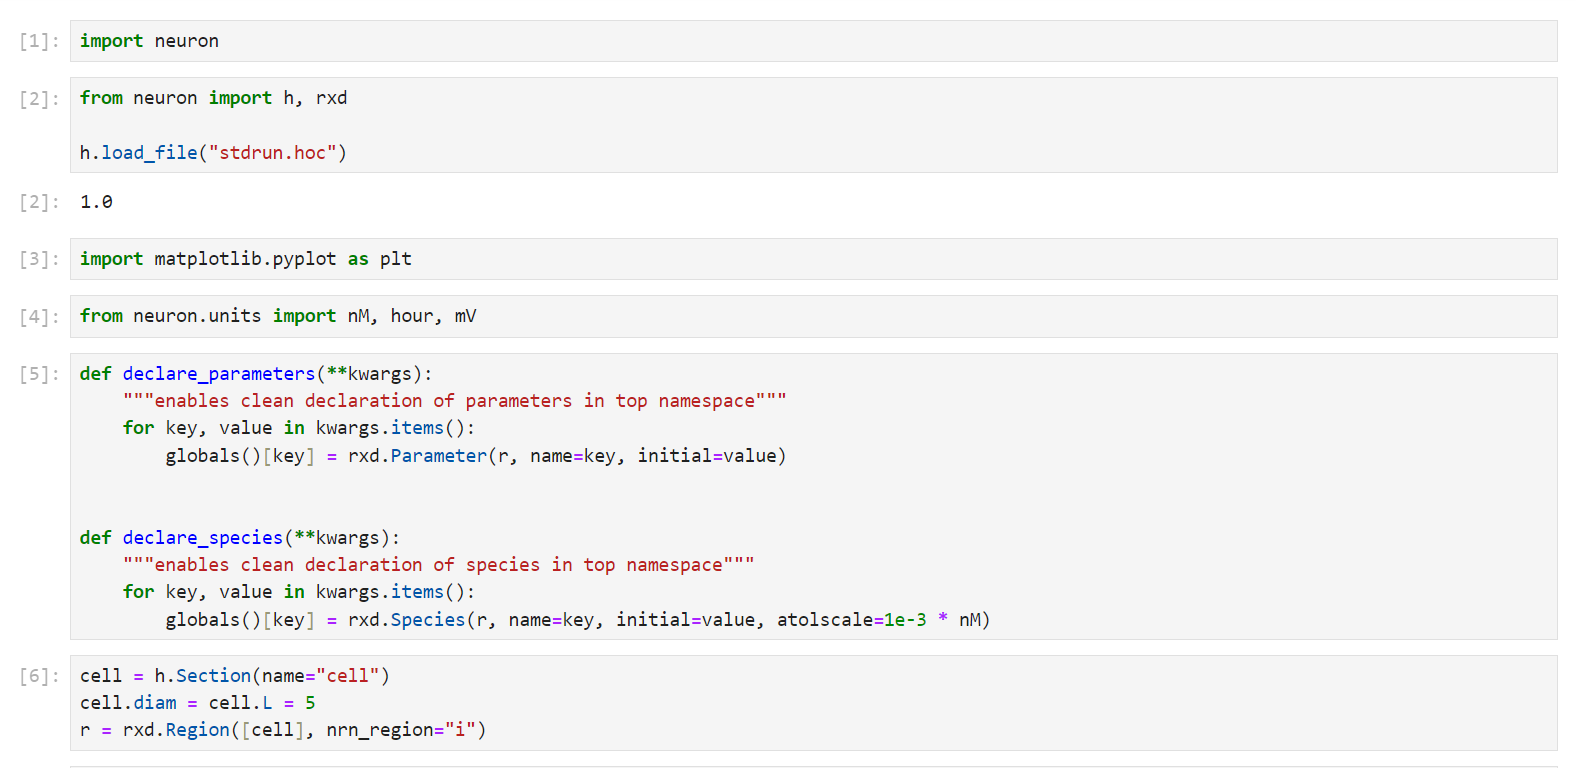
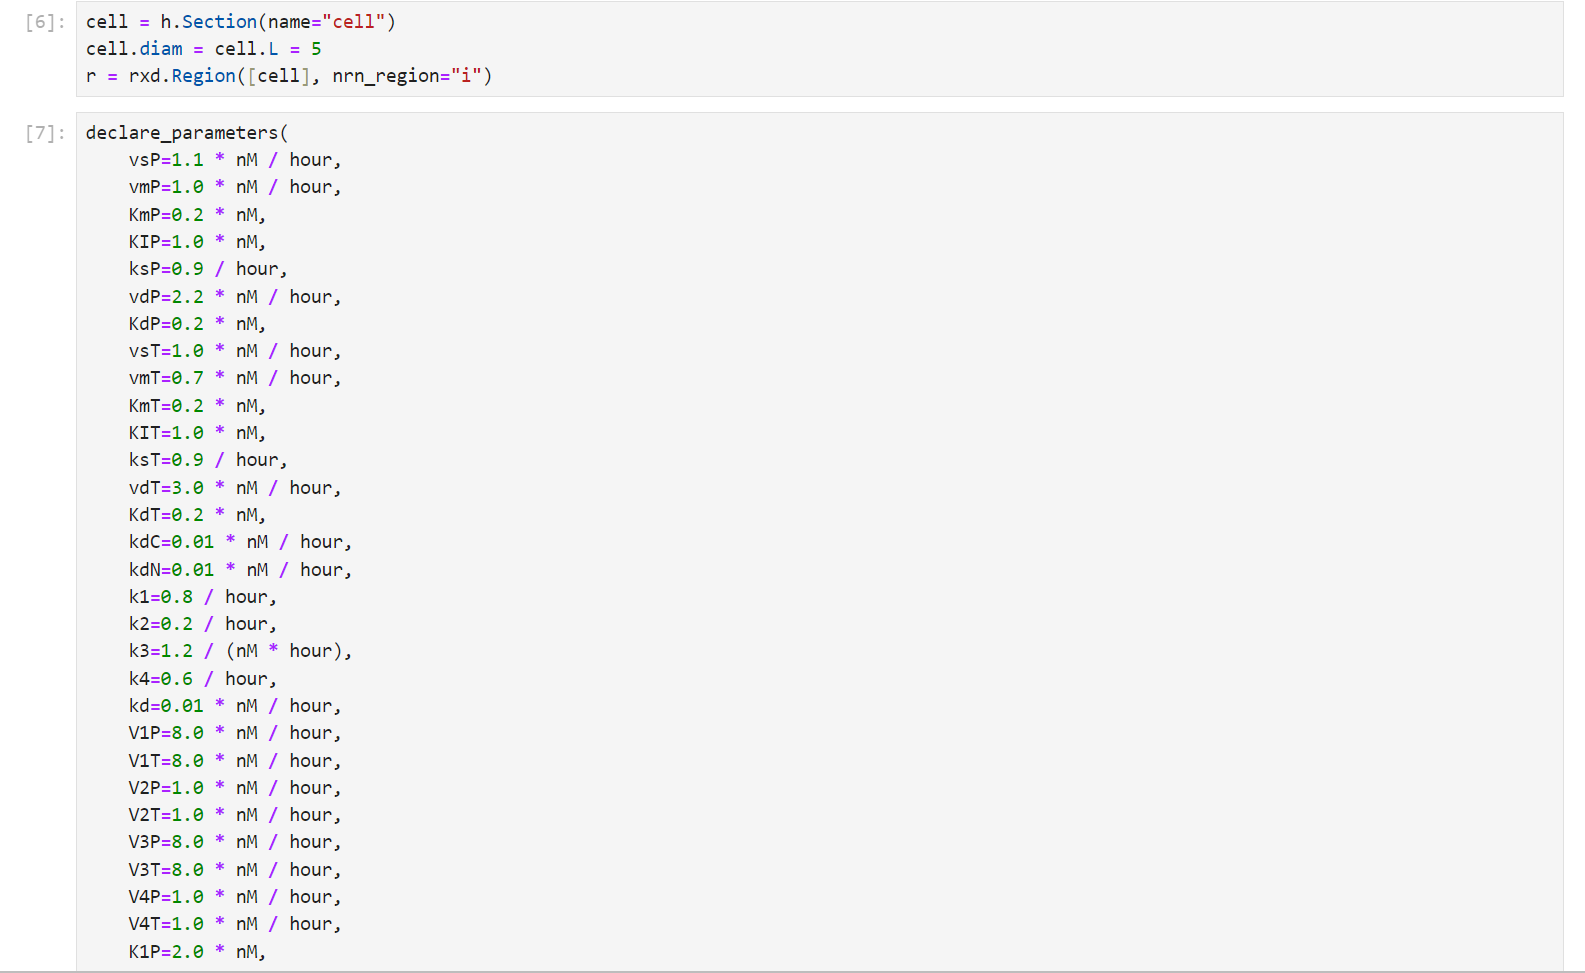
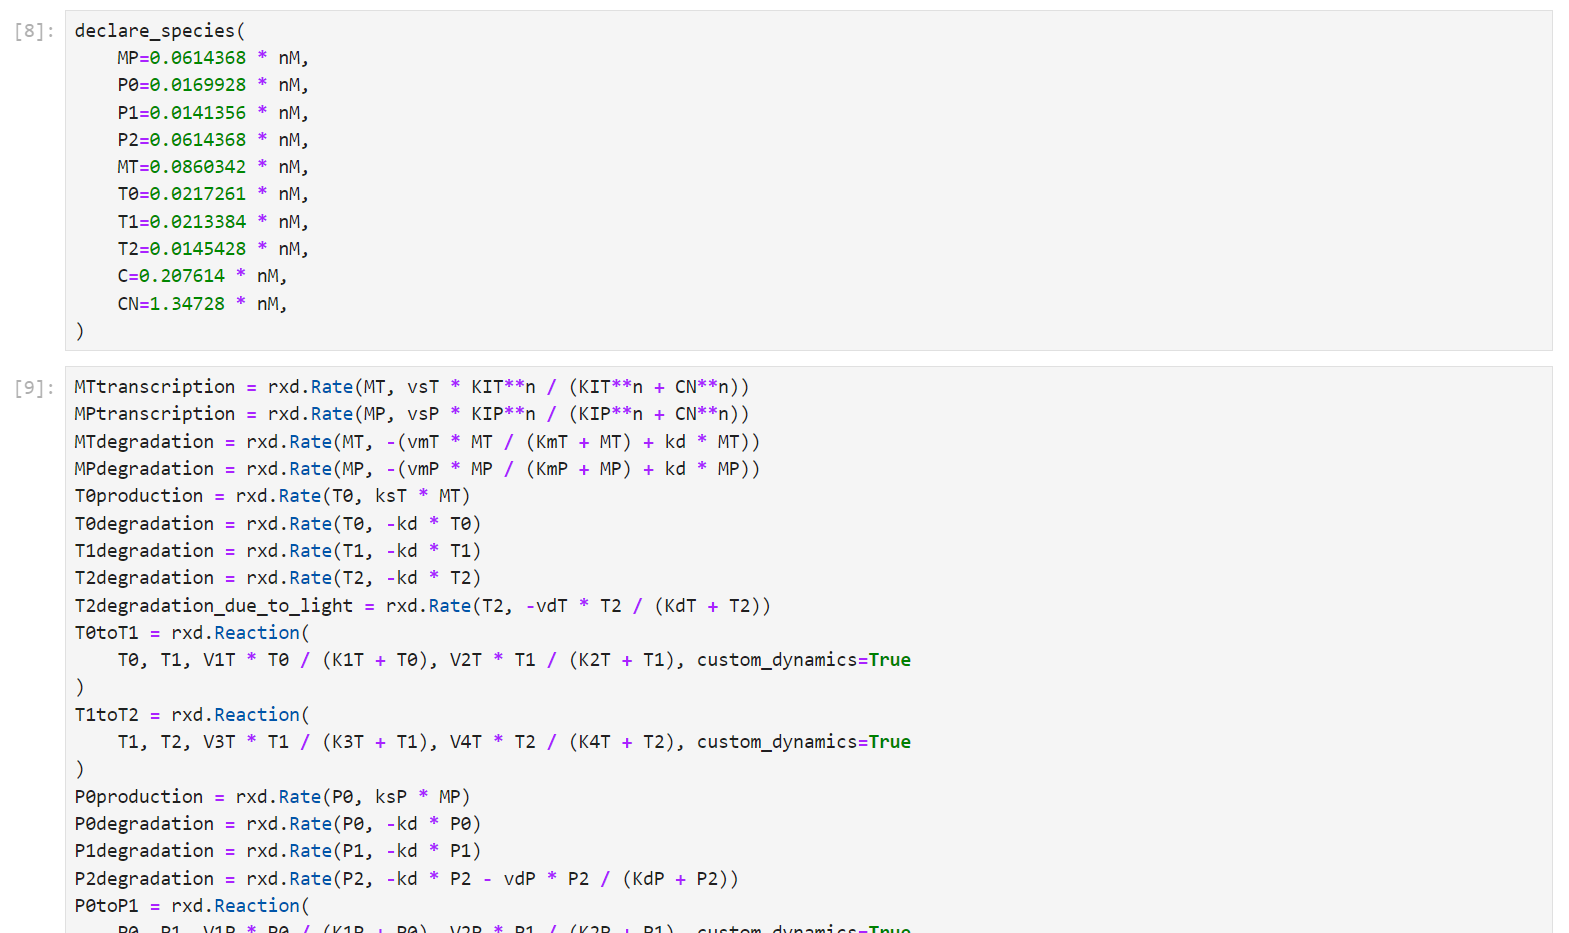
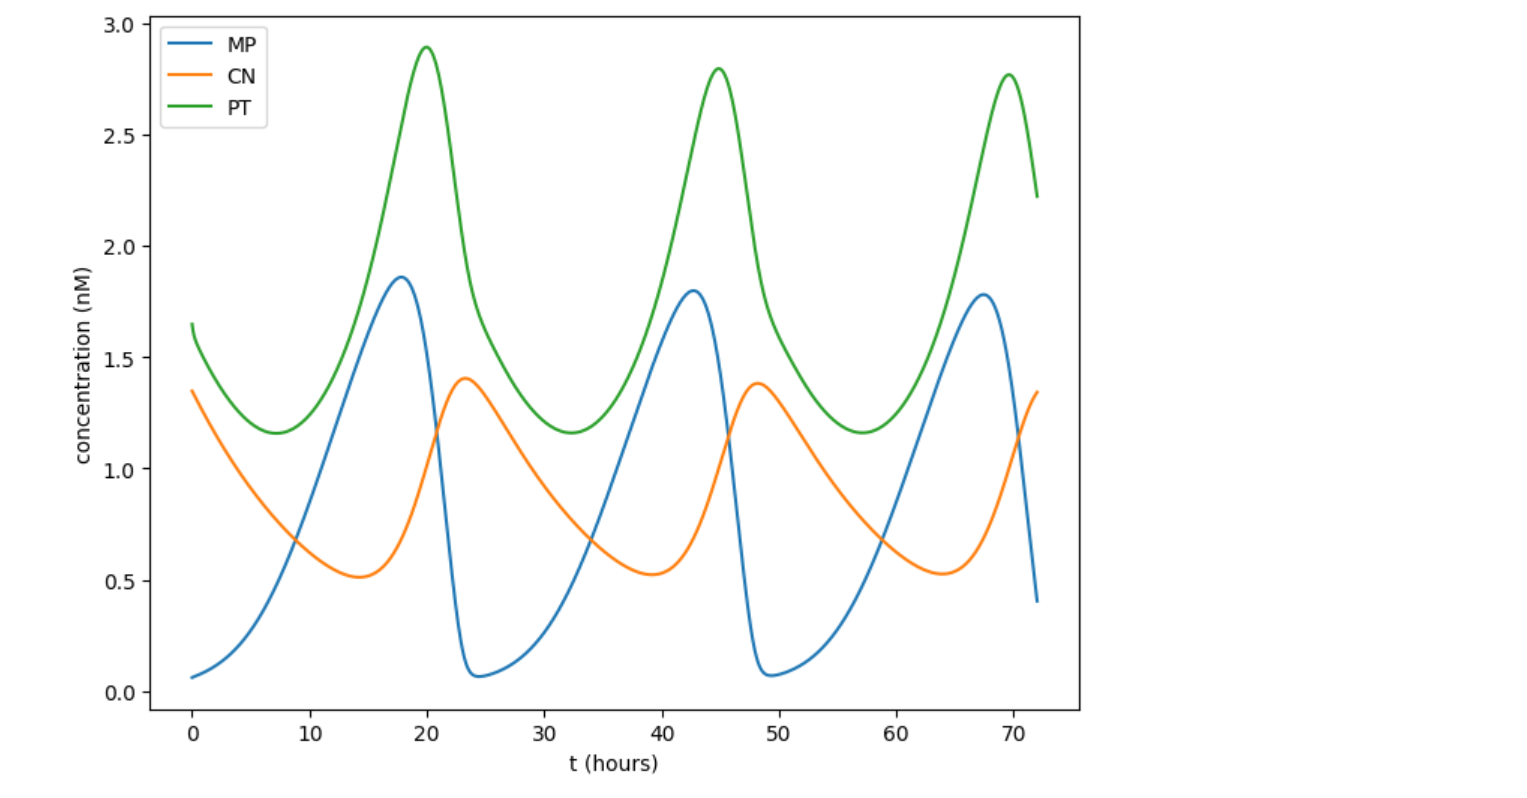
样例程序 - Circadian rhythm
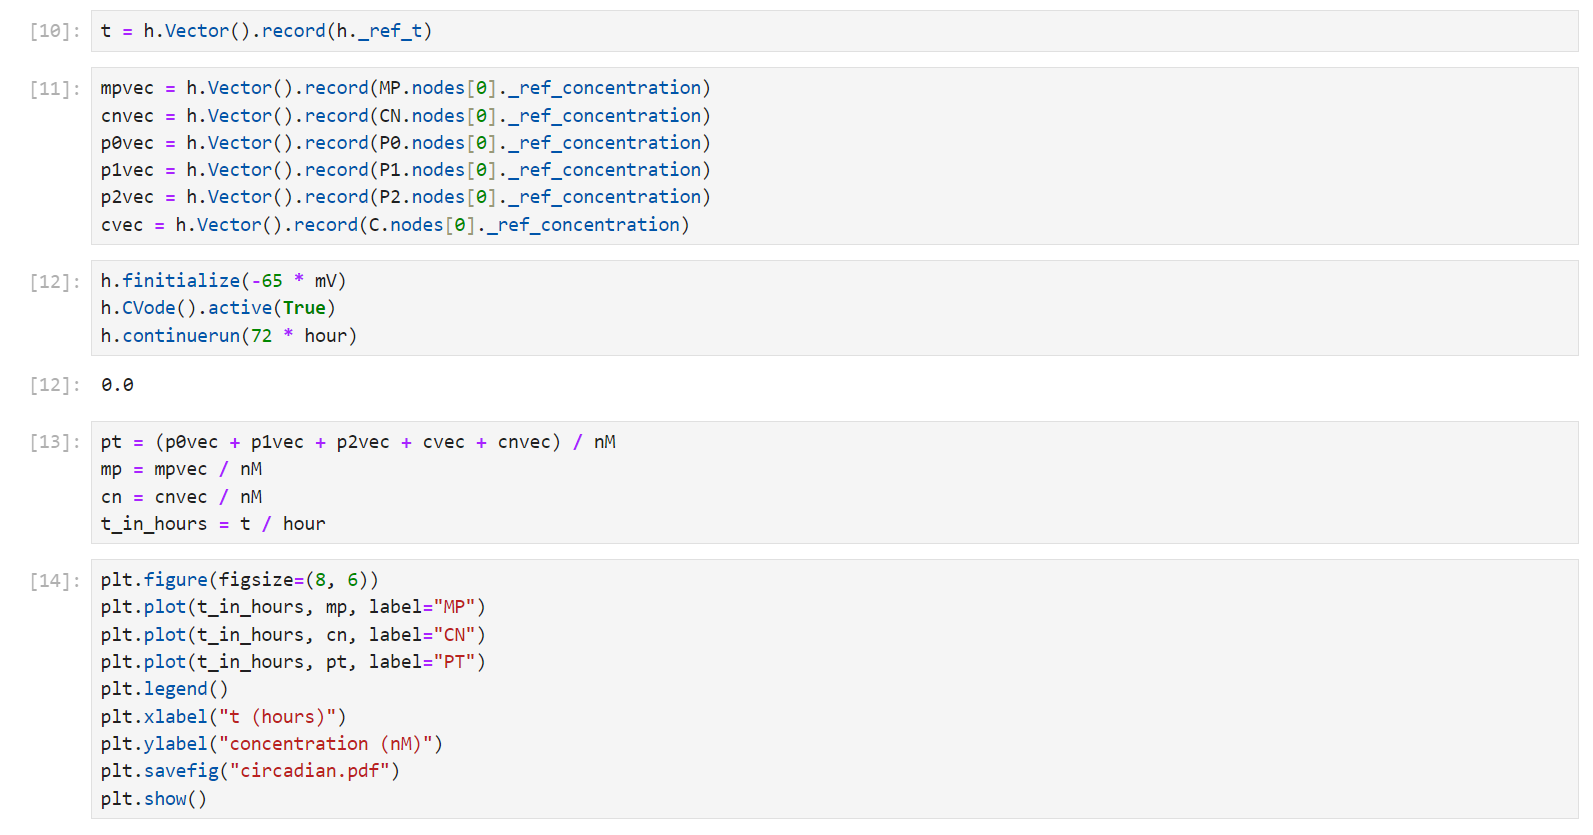
到此,Neuron 8.2.3 的安装就结束了
Last updated 22 Nov 2023, 17:40 +0800 .